1. The plan and the list of works
Before anything is demolished, decide how each room will be used: where the furniture, sockets, switches, light fittings, sanitary ware and radiators will go. These positions determine the installation routes.
The list of works and materials is based on this plan. The clearer it is from the start, the fewer changes along the way, which cost time and money.
Be careful with load-bearing walls: in apartment blocks, many walls are structural. Any intervention on them requires a structural assessment and a building permit, never guesswork.
2. Strip-out and removal
The finishes and installations being replaced are removed: tiles, old floors, sanitary ware, electrical and water runs. Whatever stays is protected, and the rubble is cleared before the new work begins.
3. Installations: electrical, plumbing and heating
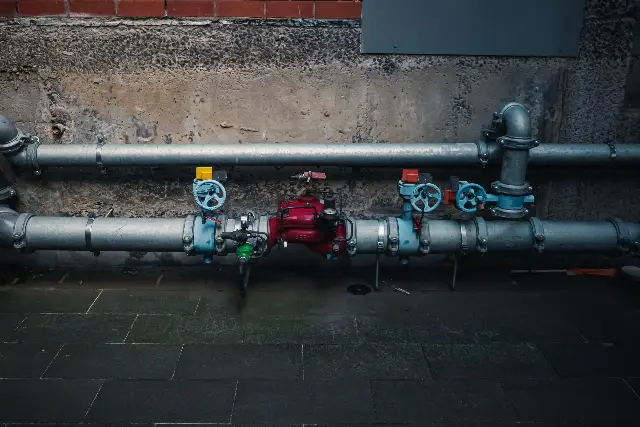
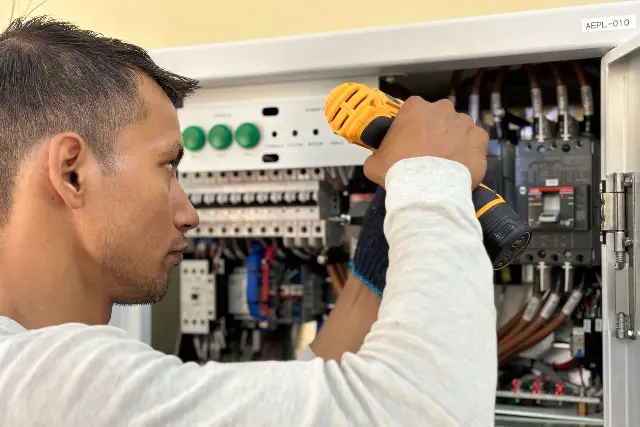
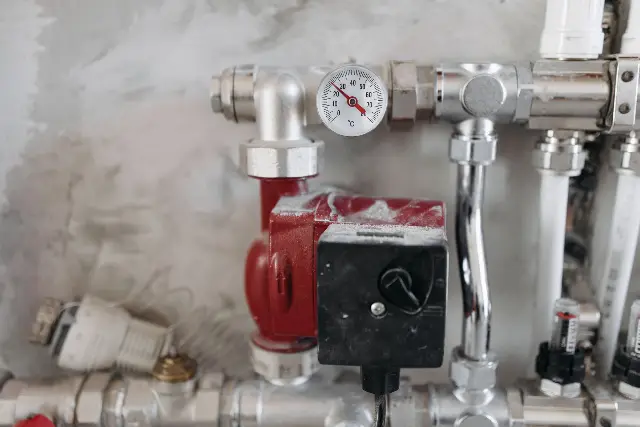
Installations go in while the walls and floors are still open. Electrics, water, drainage and heating are done now, following the plan from step 1.
Before the walls are closed, the installations are tested: water and heating pipes are pressure-tested and the electrical circuits are checked. A problem found now is easy to fix; after tiling and skim coating, it means breaking into the wall.
4. Walls and ceilings: plaster, drywall, skim coat
Next come closing the chases, plastering, drywall walls and ceilings, then the skim coat. Each layer needs time to dry; rushing it leads to cracks and paint that does not adhere properly.
5. Screed and floor preparation
If you choose underfloor heating, the pipes are laid before the screed. The screed must dry completely before parquet is laid; residual moisture can warp the wood. A plumber or a parquet fitter can measure the moisture before installation.
6. Tiling in the bathroom and kitchen
In wet areas, especially the shower, waterproofing is applied before tiling. Then the floor and wall tiles go on, with the grouting done last.
7. Painting
The first coat of paint goes on before the parquet, so you do not stain the new floor. The final coat is applied at the end, after the fittings, to cover any marks they leave.
8. Parquet, doors and final fittings
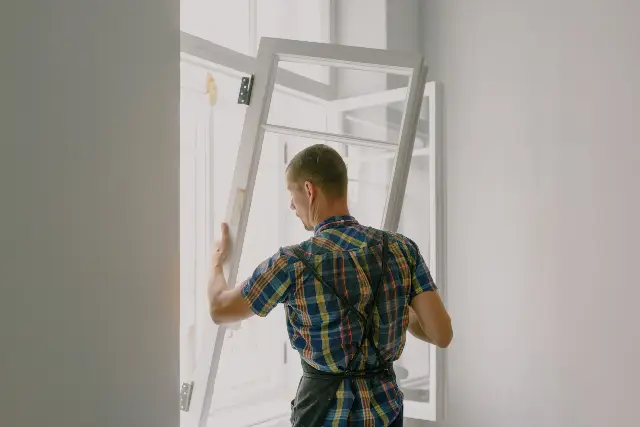
The parquet comes after the wet trades. Then the interior doors, sanitary ware, taps, sockets, switches and light fittings, followed by the final clean.
Common mistakes
- closing the walls before the installations are tested;
- laying parquet on a screed that has not dried;
- deciding where the furniture goes only after the sockets are installed;
- changing the plan mid-way, after a stage is finished;
- working with several teams that do not coordinate with each other.
Frequently asked questions
How long does an apartment renovation take?
It depends on the size, the condition of the apartment and the works chosen. Drying times for plaster and screed and the order of the stages matter most. A stage-by-stage schedule agreed at the start shows you what to expect.
Can I live in the apartment during the renovation?
For a full renovation, usually not: there is dust, noise and interruptions to water and power. For smaller jobs, the work can be organised room by room.
Why does it help if the same team does the installations and finishes?
Because the stages depend on each other. When the same team coordinates installations and finishes, routes, positions and drying times line up and less work has to be redone.